
Example Events
Check out these event listings to get a feel for what an event page should look like when completed. Whilst you can add any block to an event listing, we recommend using the blocks in this guide which have been handpicked to help drive up registrations to your event and also achieve a consistent look and feel across our event listings.

Cancelled: TCF 2020, 20-22 October, Dublin

Sibos 2019
Preparation Requirements
The better prepared your event, the greater the chance of driving up event registrations:
EVENT NAME
START & END DATE
DESCRIPTION (200 WORDS)
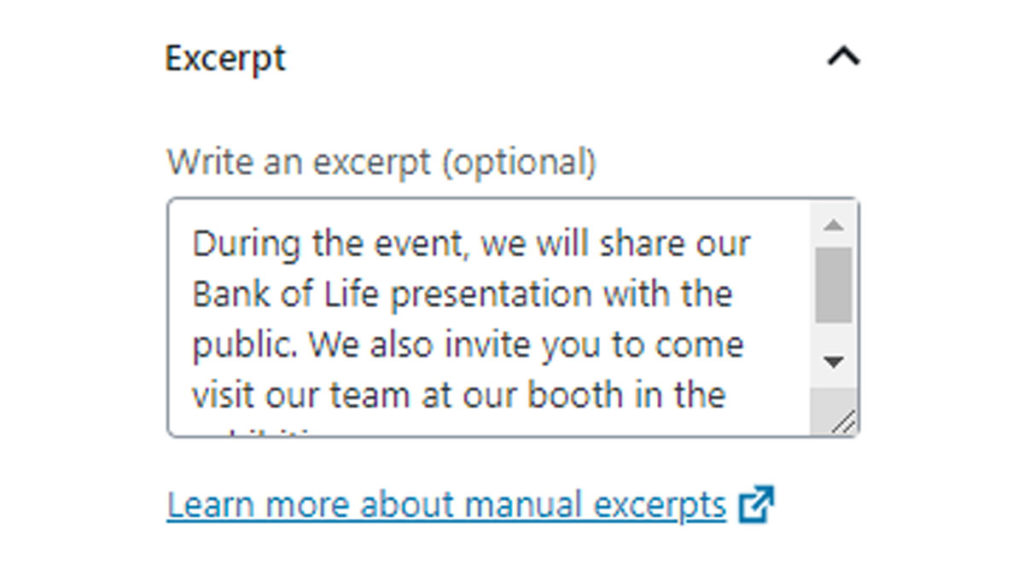
EXCERPT (20 WORDS)
IMAGERY: HERO (2000×624), LANDSCAPE (1200×675)
PARDOT FORM
AGENDA
VIDEO: HERO (2000×624)
Create Event
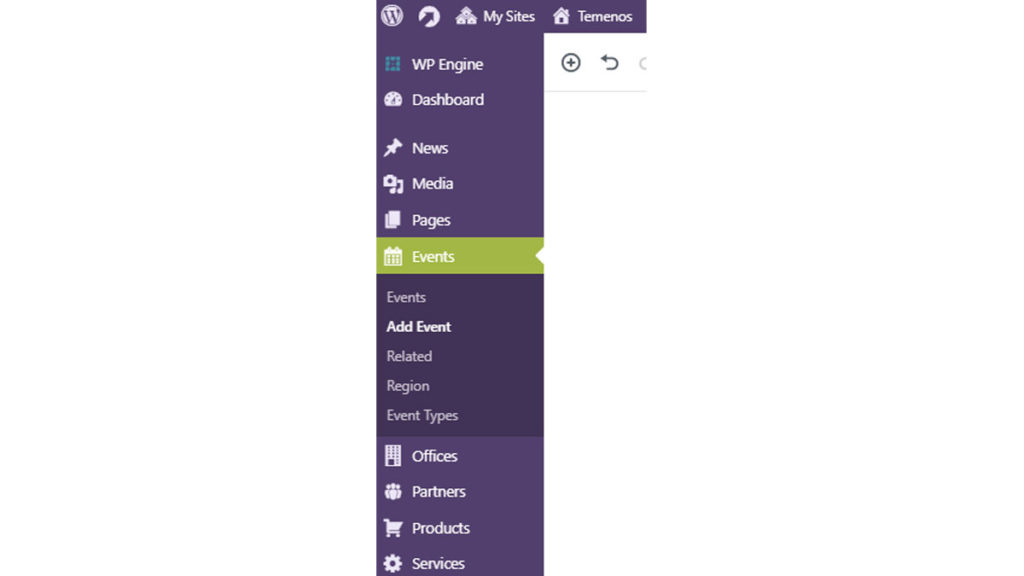
On the left-hand menu, select Events > Add New
At the top of the page add the event name using Title Case. This page name will set the page URL, e.g. calling a page ‘Temenos Community Forum’ will create the URL www.temenos.com/events/temenos-community-forum/
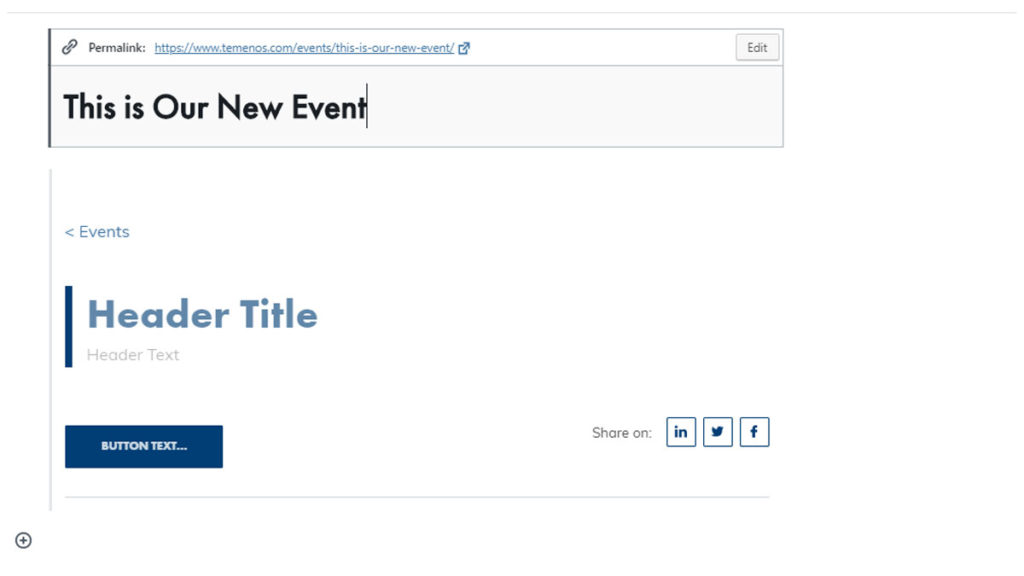
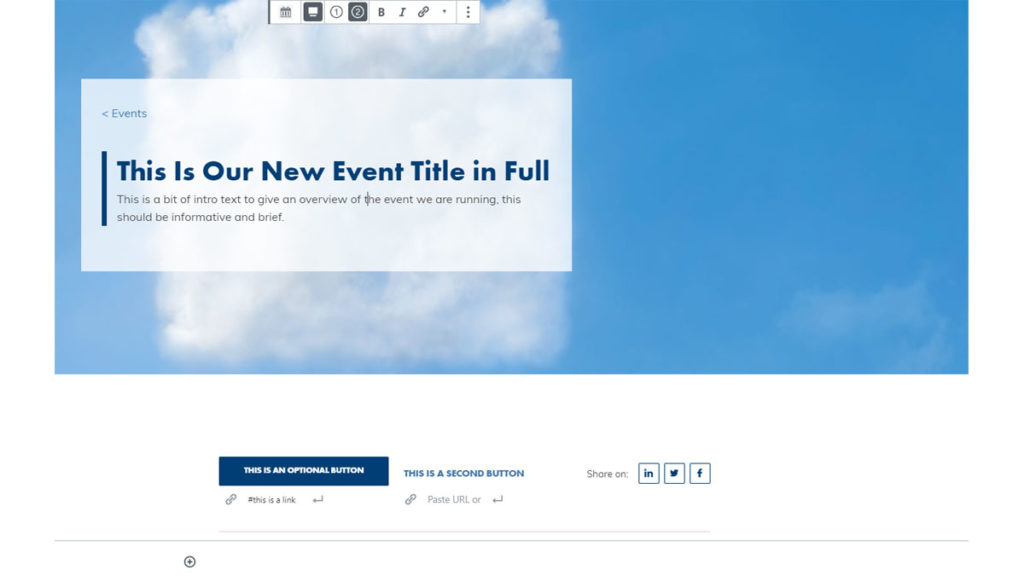
All Events user an Event Page Header block. It is the first thing a visitor will see when they visit your event page and therefore it is important to enhance as much as possible:
- Add a page title: Use Title Case. This is typically the name of the event e.g. Temenos Community Forum.
- Add introduction: Below the title, add an optional short introduction to your event e.g. Visit Temenos on booth 123.
- Add Call-To-Action (CTA): If you have a CTA, which is the next action you want a user to take, you can add between 0-2 buttons on a page e.g. Book A Meeting, Register, etc.
- Add event details: With the Event Page Header selected, on the right-hand side menu you can set event details in the Block e.g. start date, end, date, location, map link, external link (if required), ‘hero’ background image (optional), and logo (if required).
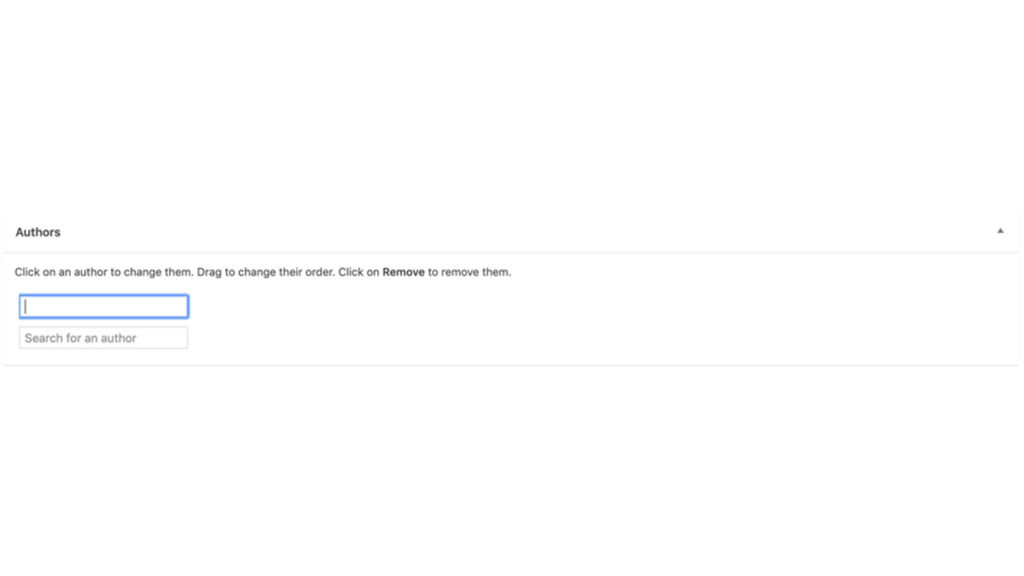
Please change the author at the bottom of the page to Temenos. You can do this by searching ‘info’ and selecting Temenos as an author:
Add Blocks
Add blocks to your event by clicking the round plus icon (⊕) above or below existing blocks. Below are the most commonly used blocks for events.
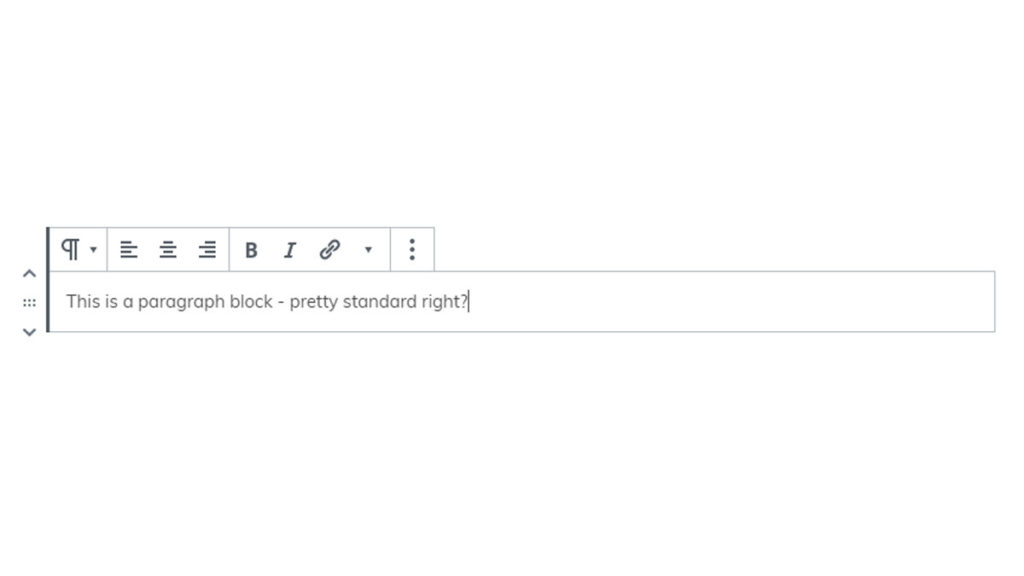
The Paragraph block is commonly used to describe your event.
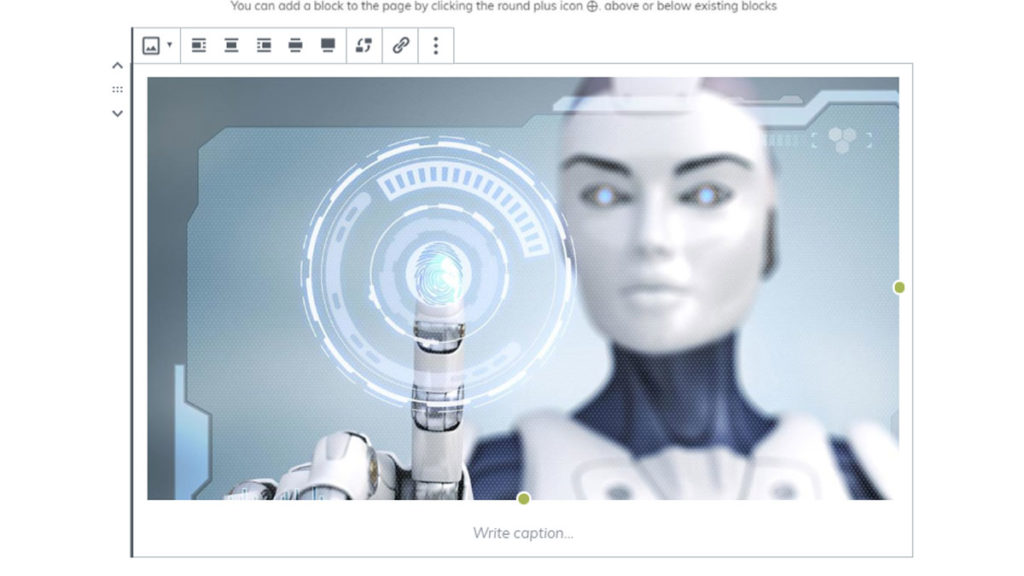
The Image block is used for adding a single in-page image. It is possible to hyperlink your image to another page or add a caption below your image.
To add an image to the top of your page, please see ‘Add Event Details’ earlier in this guide, as it is managed through the Event Page Header block.
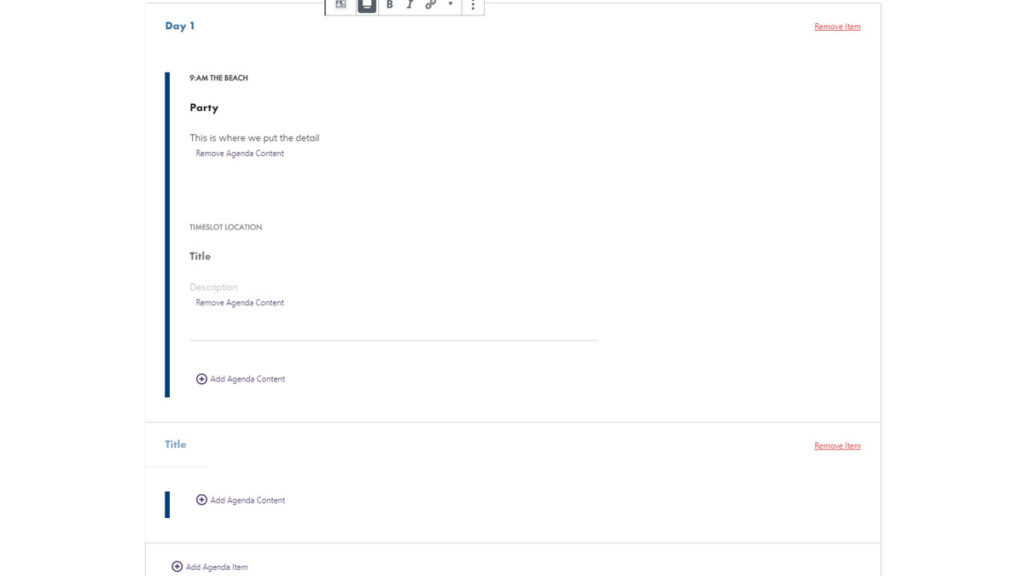
The Agenda block is used to add detailed agendas to an events page and is best used when you have lots of information to display on the page, in a compact and interactive way. Agenda blocks are flexible in that you can add as many agenda items as required by clicking on ⊕. Agenda blocks can be split by time-slots or by day, or however you choose.
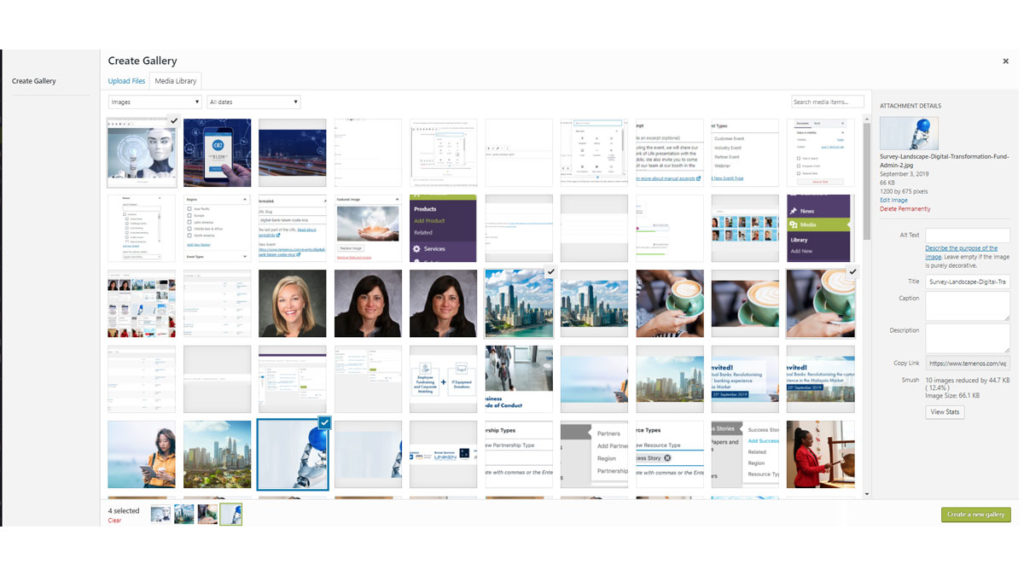
Use the Gallery block to showcase multiple images. With the block inserted into your page, simply Add Media and select your images. For consistency, please only add card size images (800×800). When you’re in the gallery creation window, shown below, the tick at the top right of an image indicates that it has been included.
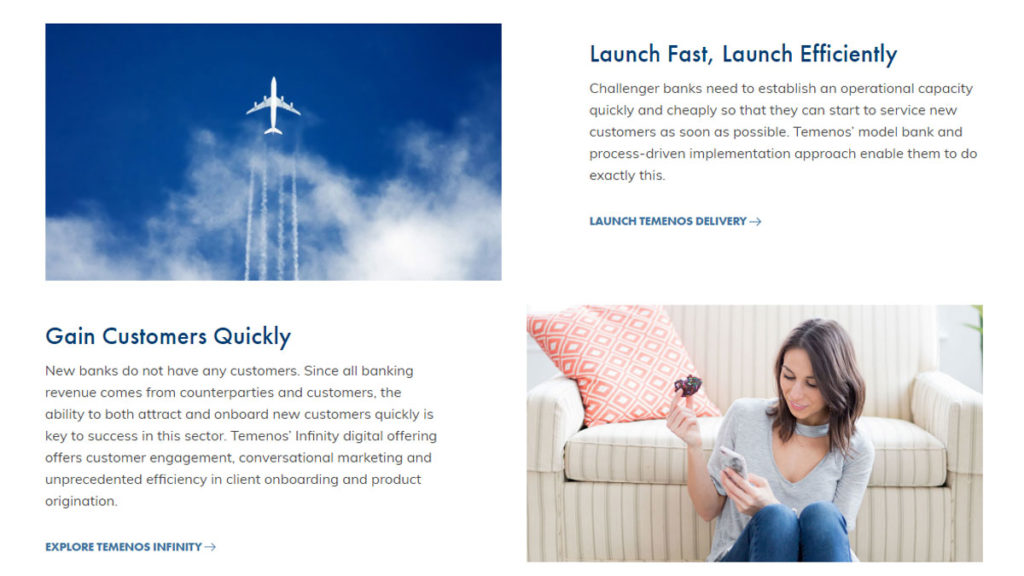
A Split Block allows you to insert text and an image or video. When adding an image, we recommend using Landscape (1200×675). The Split Block has the ability to show 4 logos in a group, which is useful when adding customer logos. Videos can we added into the block under the Properties tab, shown in the right hand side column when the block is selected. Buttons can also be added or removed in Properties. Multiple Split Blocks can be stacked to provide an interesting page layout.
Manage Visibility
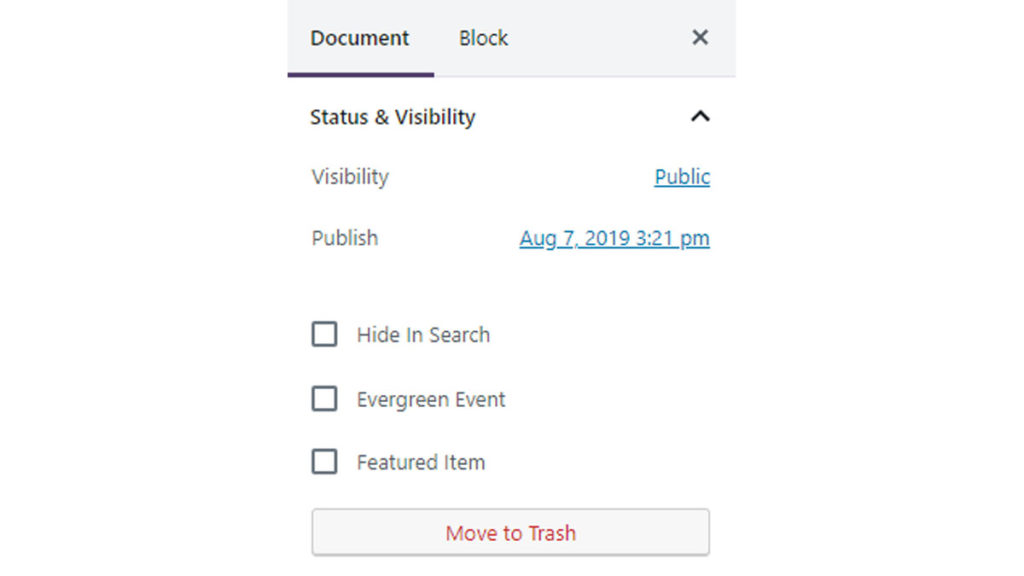
Event properties help you manage the visibility of your event listing on Temenos.com, giving you options to promote the event in relevant places throughout the website. To view Properties, login to your Event Page > right-hand side options > Document tab.
Hide In Search – This tick box will enable you to hide your event from internal site search and other pages throughout Temenos.com; ideal for an invite-only event.
Evergreen Event – Some events never expire, e.g. TCF, and therefore we have an all year round page tha this updated both pre-event and post-event. If your event needs to be permanently available to site users, simply tick Evergreen and the page will show all year round.
Featured Item – For events that are high profile and important to the business, we have the Featured Item option which pushes the event to the top of the page to drive engagement and registrations. We can have between 0-4 featured items at any one time.
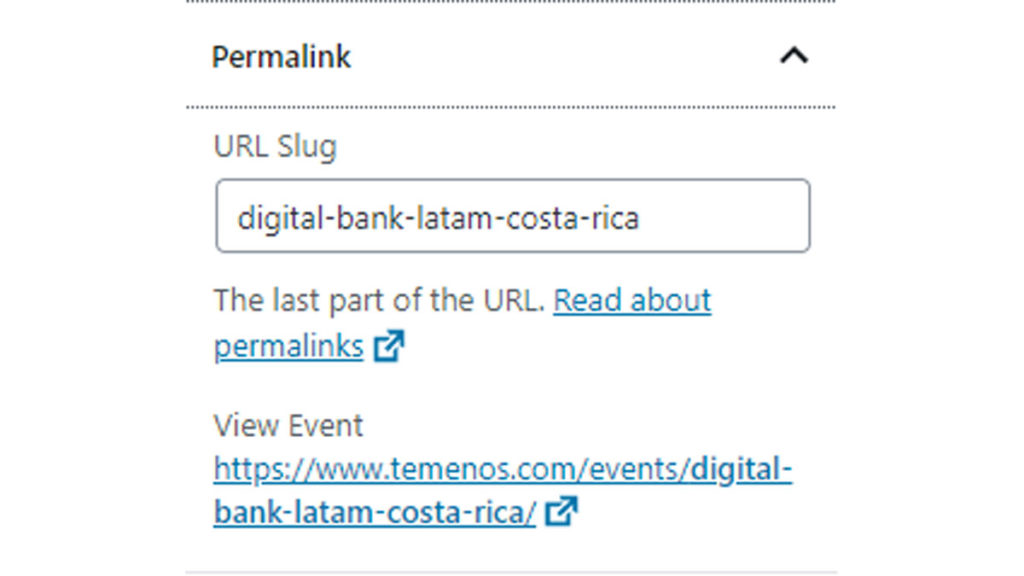
Earlier in this guide, we Set Page Name & URL. If you need to change your URL you can edit the Permalink. Best practice for URL structure is to keep your link as short as possible. With event listings, you should use your event name e.g. temenos-community-forum
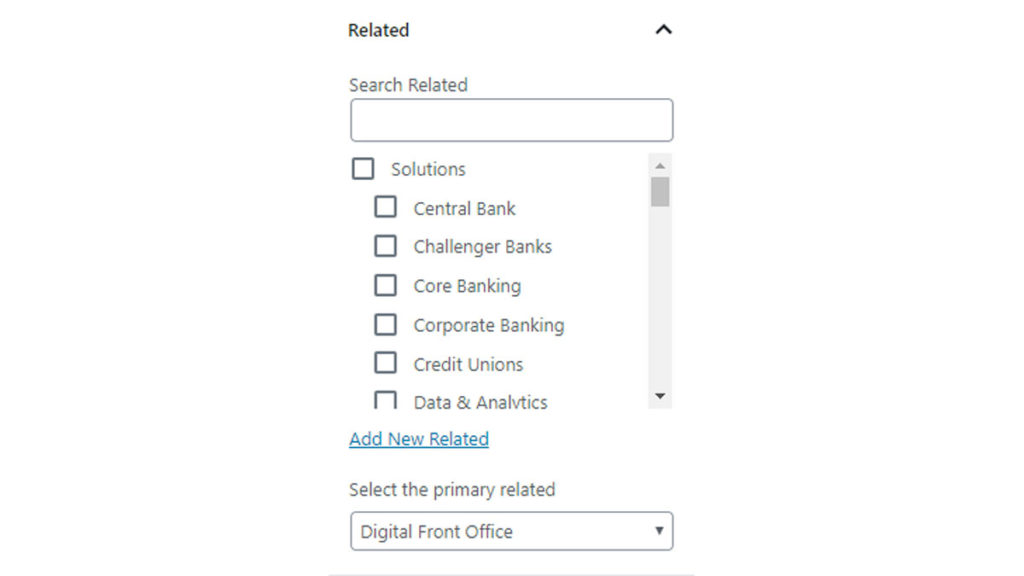
Please select categories under Related that are relevant to your event listing. This will promote your event on pages that are tagged up with the corresponding category e.g. core banking event will show in core banking pages. It will also help users find your event when they are using the event filter. You can set multiple categories is applicable.
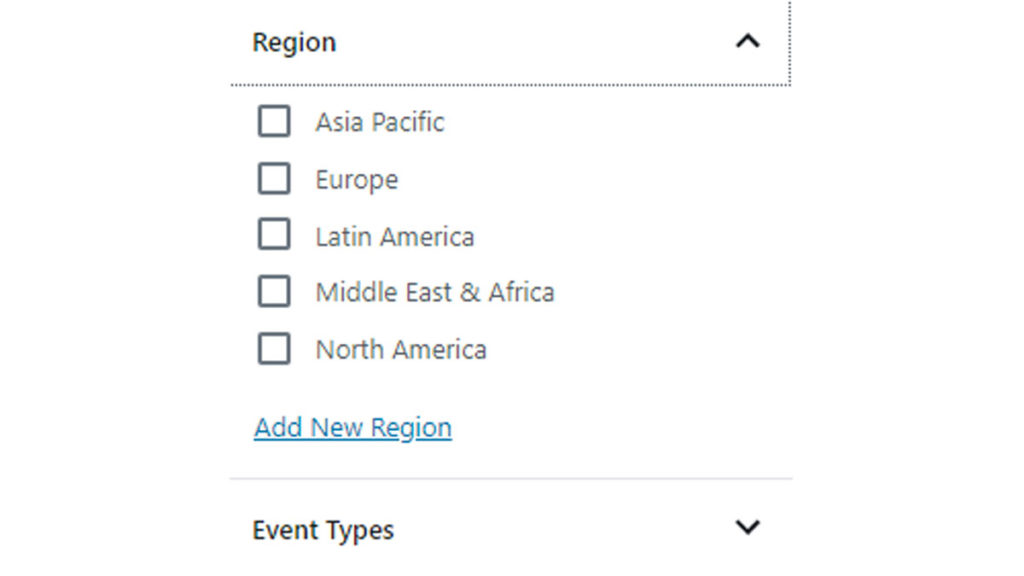
Please select all the Regions where your event is applicable. If you are promoting a global event, please select all regions and set the primary region as the region where the event is hosted.
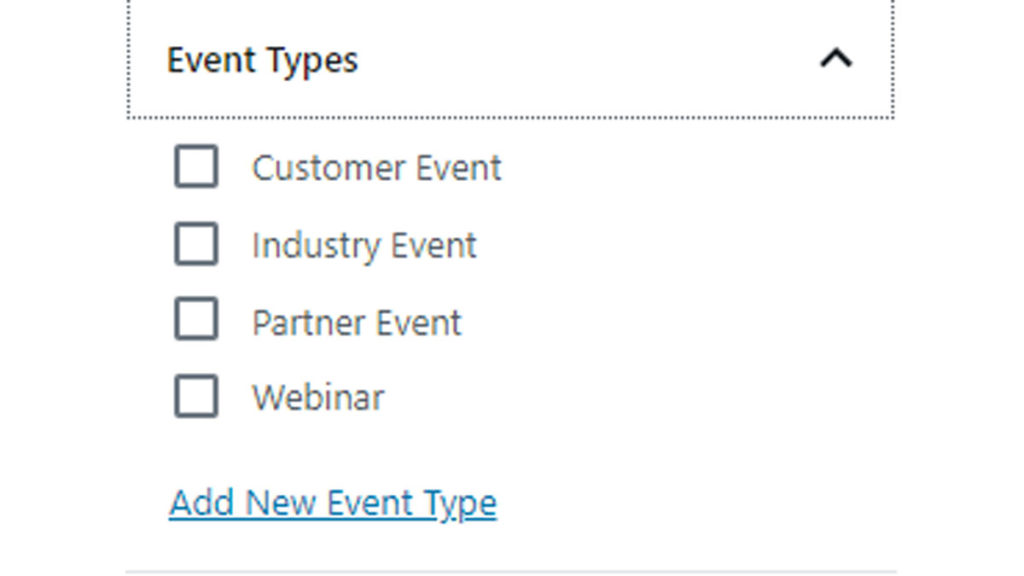
Please select relevant categories under Event Type. You can select multiple categories if applicable. This will help users find your event when they are using the event filter.
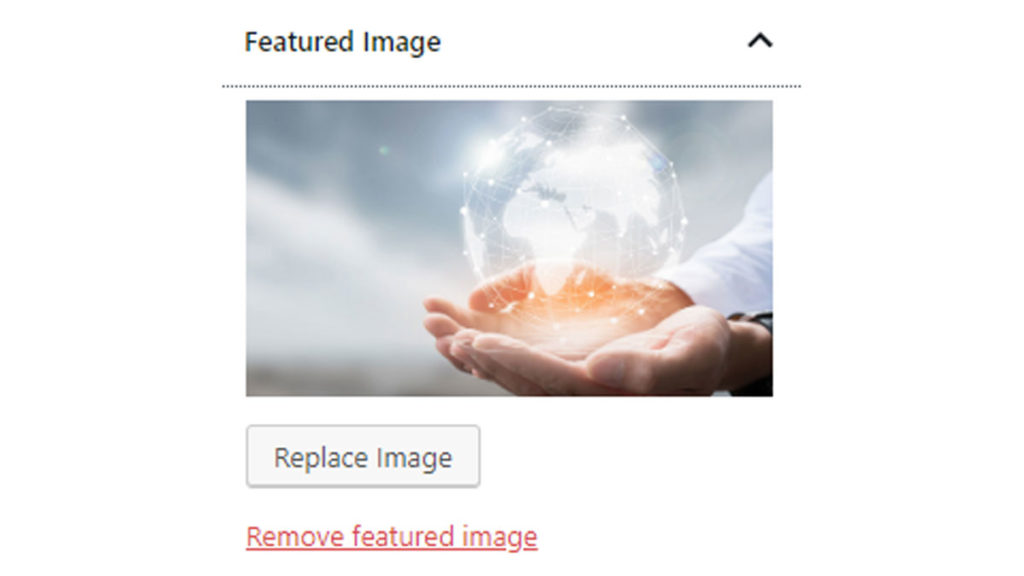
Your Featured Image shows on the event listings page, other temenos.com pages and on links from social media pointing to this page. Please use a Landscape (1200×675) image. A default image is used if you do not set a Featured Image, however, we highly recommend adding your own image. We also recommend matching the Featured Image with the Hero Image in the Event Page Header, discussed earlier in this guide, as this will provide a joined-up user journey.
The Excerpt appears in site search results and listing pages. If no excerpt is added your page it will automatically take the first 200 characters from the page content.
Call-To-Action Forms
If your event requires a form to register attendees, then follow the steps below:
- Add a new event
- Set the page type: Document > Page Attributes > Page Type > Landing Page
- Set the page to ‘Hidden’: Status and Visibility > Hide in Search
- Set the page name to ‘Thank You’.
- Set the parent to the event it is associated with
- This document outlines what content should be added
- Get the unpublished link: Document > Permalink > Copy Link
- Please note, your link must end /thank-you/ to enable Digital Team to track conversions
e.g. www.temenos.com/event/event-name/thank-you/
- Please note, your link must end /thank-you/ to enable Digital Team to track conversions
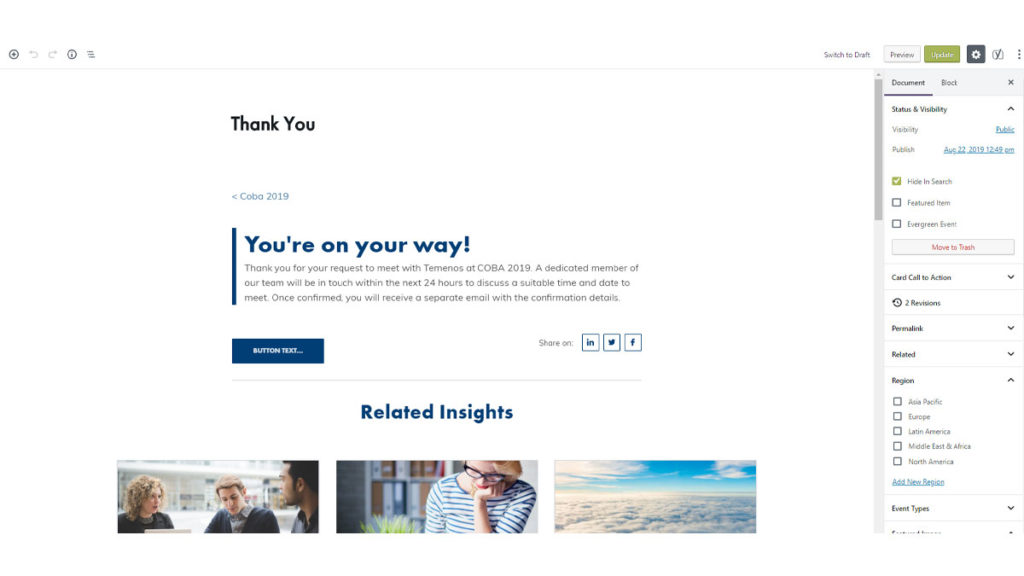
Once the thank you page is created, the Pardot form spreadsheet the data team use will have to be populated. There are five fields that need attention:
- Description – Column A (Mandatory)
What the form is for i.e. US Webinar, UK Event, etc. - Production LP URL – Column E (Mandatory)
This is the Main page of your event i.e. https://www.temenos.com/events/coba-2019. URL can be copied from the top of the page where the page name is. - Live TYP – Column G (Mandatory)
Add the thank you page URL. - Special consideration – Column H (Optional)
Add the details of a specific person here if you wish to receive form completion updates. - Existing campaign – Coulmn I (Mandatory)
Specify here if your event is linked to a overall campaign e.g. TCF 2019, Sibos, etc.
Specify what form fields are required and send a request, including the link to the Thank You Page, to the Data Team [email protected]
Additionally, add the row number from the spreadsheet.

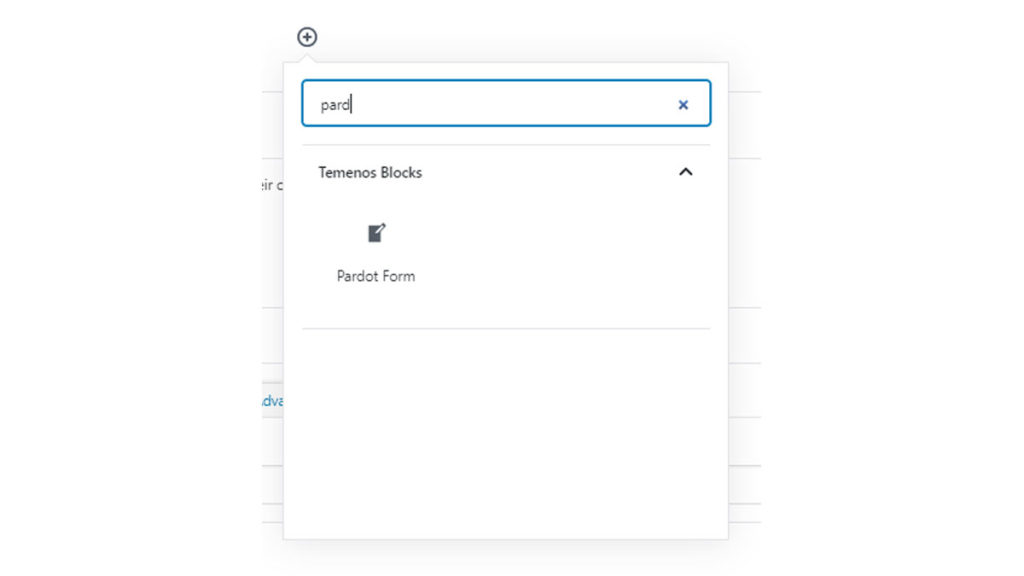
Add the Pardot Form block. Add the Form ID provided by the Data Team to the Pardot Block > Properties > Form Options
Once the form is added to the page, update the spreadsheet one last time:
- New form added to website – Column B (Mandatory)